Adding Hangfire to Episerver/Optimizely CMS 12
by Stanisław Szołkowski
Episerver/Optimizely contains build ScheduledJobs support which does its job for internal EPI jobs and simple custom cases, however, when the app grows and we need more and more jobs it fails behind dedicated solutions.
What is Hangfire and why use it
Hangfire is an open-source framework that helps you to create, process, and manage your background jobs, i.e. operations you don’t want to put in your request processing pipeline:
- mass notifications/newsletter;
- batch import from xml, csv, json;
- creation of archives;
- firing off webhooks;
- deleting users;
- building different graphs;
- image/video processing;
- purge temporary files;
- recurring automated reports;
- database maintenance.
It is also free for commercial usage (has paid extra features) as well as having support for retries policies, different types of jobs, and scaling up. What is also very nice is that we can use any serializable method called a job which is very nice too.
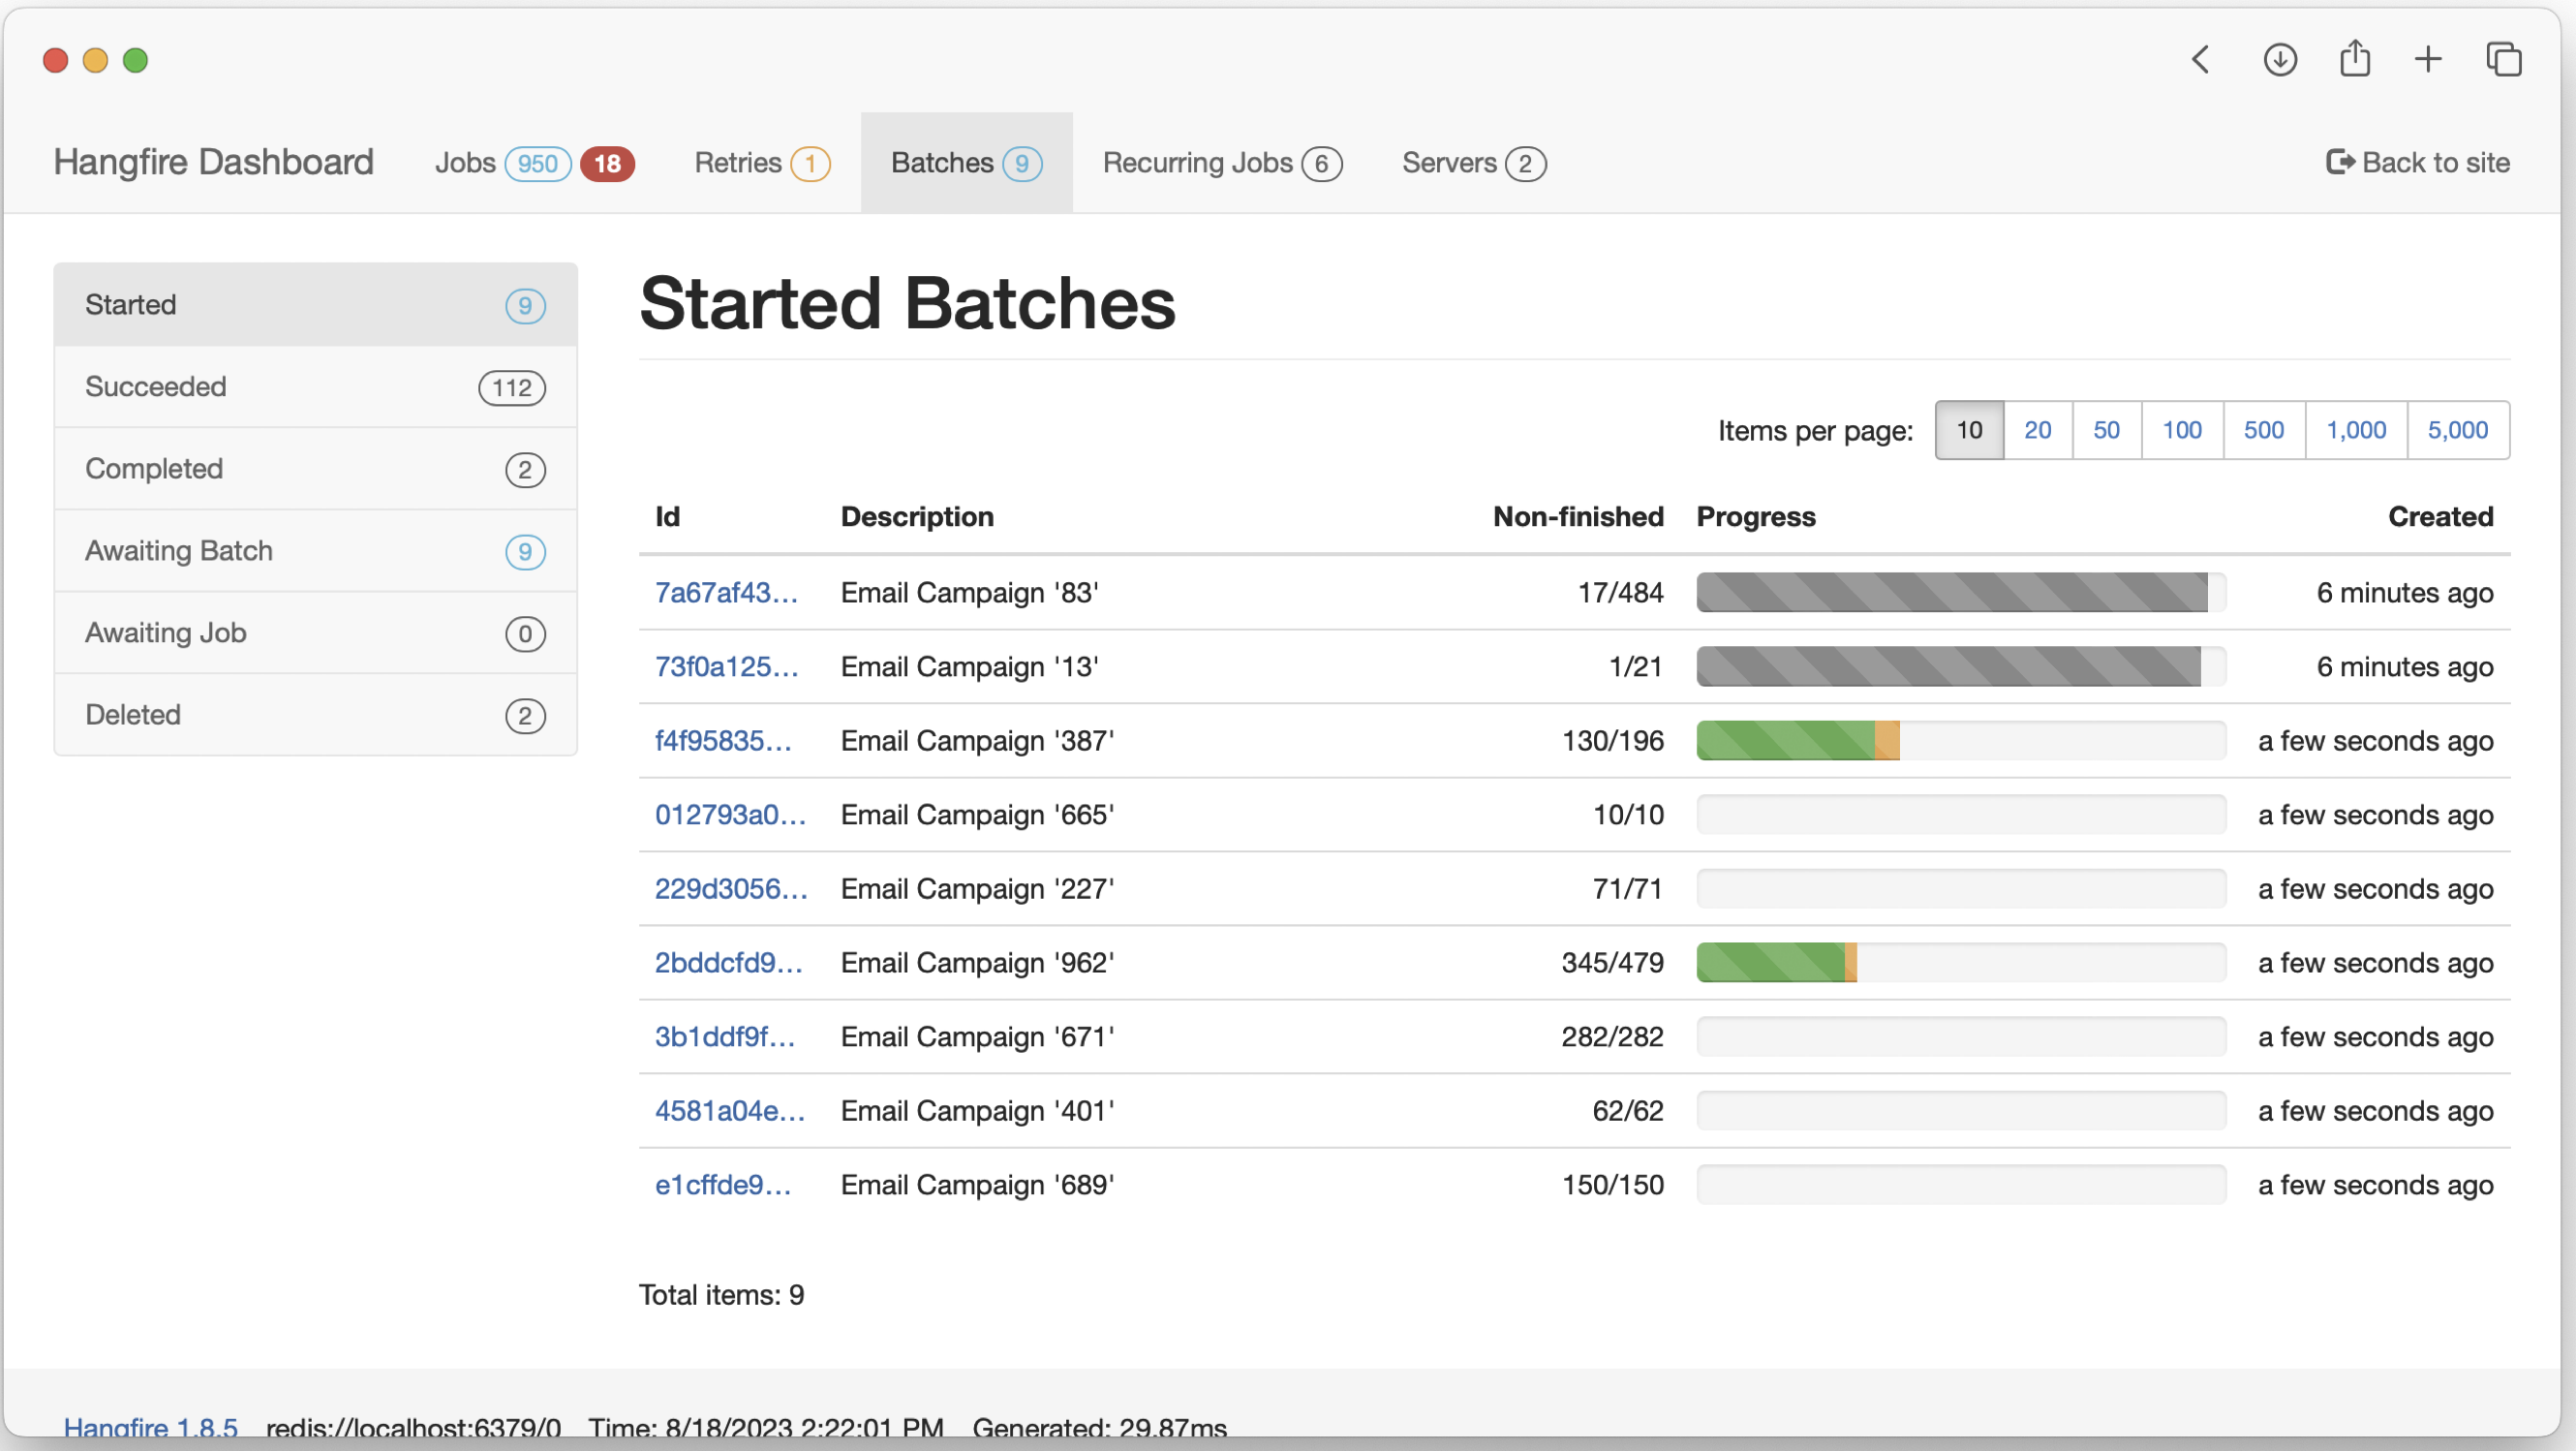
from Hangfire

Adding Hangfire to Episerver/Optimizely 12 using the Foundation project as an example in a few steps
First lets install Hangfire and Hangfire.Console Nuget packages to a project using the following commands:
dotnet add package Hangfire --version 1.8.14
dotnet add package Hangfire.Console --version 1.4.3
Security comes first, so let’s start by adding an authorization filter to make sure only Admins can access it.
using Hangfire.Annotations;
using Hangfire.Dashboard;

namespace Foundation.Features.Hangfire;

public class HangfireAuthorizationFilter : IDashboardAuthorizationFilter
{
    public bool Authorize([NotNull] DashboardContext context)
    {
        return EPiServer.Security.PrincipalInfo.CurrentPrincipal.IsInRole("CmsAdmins");
    }
}
In order to have a nice Hangfire UI nested inside CMS UI we need to create a controller for it.
namespace Foundation.Features.Hangfire;

[Authorize(Roles = "CmsAdmin,WebAdmins,Administrators")]
[Route("[controller]")]
public class HangfireCmsController : Controller
{
    [Route("[action]")]
    public ActionResult Index()
    {
        return View();
    }
}
Now let’s add the view for our controller. We will use iframe for Hangfire UI, so we will keep EPI navigation.
@using EPiServer.Framework.Web.Resources
@using EPiServer.Shell.Navigation

@{
    Layout = string.Empty;
}

<!DOCTYPE html>
<html lang="en">

<head>
    <title>Hangfire Dashboard</title>
    @ClientResources.RenderResources("ShellCore")
    @ClientResources.RenderResources("ShellCoreLightTheme")

    <style>
        html,
        body,
        .iframe-container {
            height: 100%;
        }

        iframe {
            width: 100%;
            height: 100%;
        }
    </style>
</head>

<body>
    @Html.CreatePlatformNavigationMenu()
    <div @Html.ApplyPlatformNavigation(additionalClass: "iframe-container")>
        <iframe src="/episerver/backoffice/Plugins/hangfire" title="Hangfire Dashboard" frameborder="0">
            <p>Your browser does not support iframes.</p>
        </iframe>
    </div>
</body>

</html>
After all the troubles to keep Epi navigation we need to integrate with it, so let’s implement a menu provider.
using EPiServer.Authorization;

namespace Foundation.Features.Hangfire;

[MenuProvider]
public class HangfireMenuProvider: IMenuProvider
{
    public IEnumerable<MenuItem>  GetMenuItems()
    {
        var hangFireMenuItem = new UrlMenuItem("Hangfire", MenuPaths.Global + "/cms" + "/cmsMenuItem",
            "/HangfireCms/index")
        {
            IsAvailable = request => EPiServer.Security.PrincipalInfo.CurrentPrincipal.IsInRole("CmsAdmins"),
            AuthorizationPolicy = CmsPolicyNames.CmsAdmin,
            SortIndex = SortIndex.First + 25
        };

        return new MenuItem[]
        {
            hangFireMenuItem
        };
    }
}
It would be a shame to have only an empty Hangfire UI to see after finishing this example. Let’s add a simple recurring job that plays with Hangfire.Console features. More on Hangfire jobs can be read in its documentation here.
using Hangfire.Console;
using Hangfire.Server;
using System.Threading;

namespace Foundation.Features.Hangfire;

public class ExampleRecurringJob
{
    private readonly IContentTypeRepository _contentTypeRepository;


    public ExampleRecurringJob(IContentTypeRepository contentTypeRepository)
    {
        _contentTypeRepository = contentTypeRepository;
    }

    public void Execute(PerformContext context)
    {
        context.WriteLine("Hello, world!");
        Thread.Sleep(TimeSpan.FromSeconds(1));

        context.SetTextColor(ConsoleTextColor.Red);
        context.WriteLine("Error! Just joking :)");
        Thread.Sleep(TimeSpan.FromSeconds(0.2));
        context.ResetTextColor();

        var bar = context.WriteProgressBar();
        foreach (var contentType in _contentTypeRepository.List().WithProgress(bar))
        {
            context.WriteLine(contentType.Name);
            Thread.Sleep(TimeSpan.FromSeconds(0.3));
        }
    }
}
Now that we have all new classes created we need to add the Hangfire configuration to Startup.cs.
            // Add Hangfire services.
            services.AddHangfire(configuration => configuration
                .SetDataCompatibilityLevel(CompatibilityLevel.Version_180)
                .UseSimpleAssemblyNameTypeSerializer()
                .UseRecommendedSerializerSettings()
                .UseSqlServerStorage(_configuration.GetConnectionString("EcfSqlConnection"))
                .UseConsole());

            // Add the processing server as IHostedService
            services.AddHangfireServer();
As well as this configuration.
            app.UseEndpoints(endpoints =>
            {
                endpoints.MapControllerRoute(name: "Default", pattern: "{controller}/{action}/{id?}");
                endpoints.MapControllers();
                endpoints.MapRazorPages();
                endpoints.MapContent();
                endpoints.MapHangfireDashboard();
            });

            var dashboardOptions = new DashboardOptions
            {
                Authorization = new[]
                {
                    new HangfireAuthorizationFilter()
                },
                AppPath = null
            };
            // Order of middlewares is important! Add it after Authentication and Authorization in order to have a user in the context.
            app.UseHangfireDashboard("/episerver/backoffice/Plugins/hangfire", dashboardOptions);

            RecurringJob.AddOrUpdate<ExampleRecurringJob>(nameof(ExampleRecurringJob) + "_Id", x => x.Execute(null), Cron.Daily);
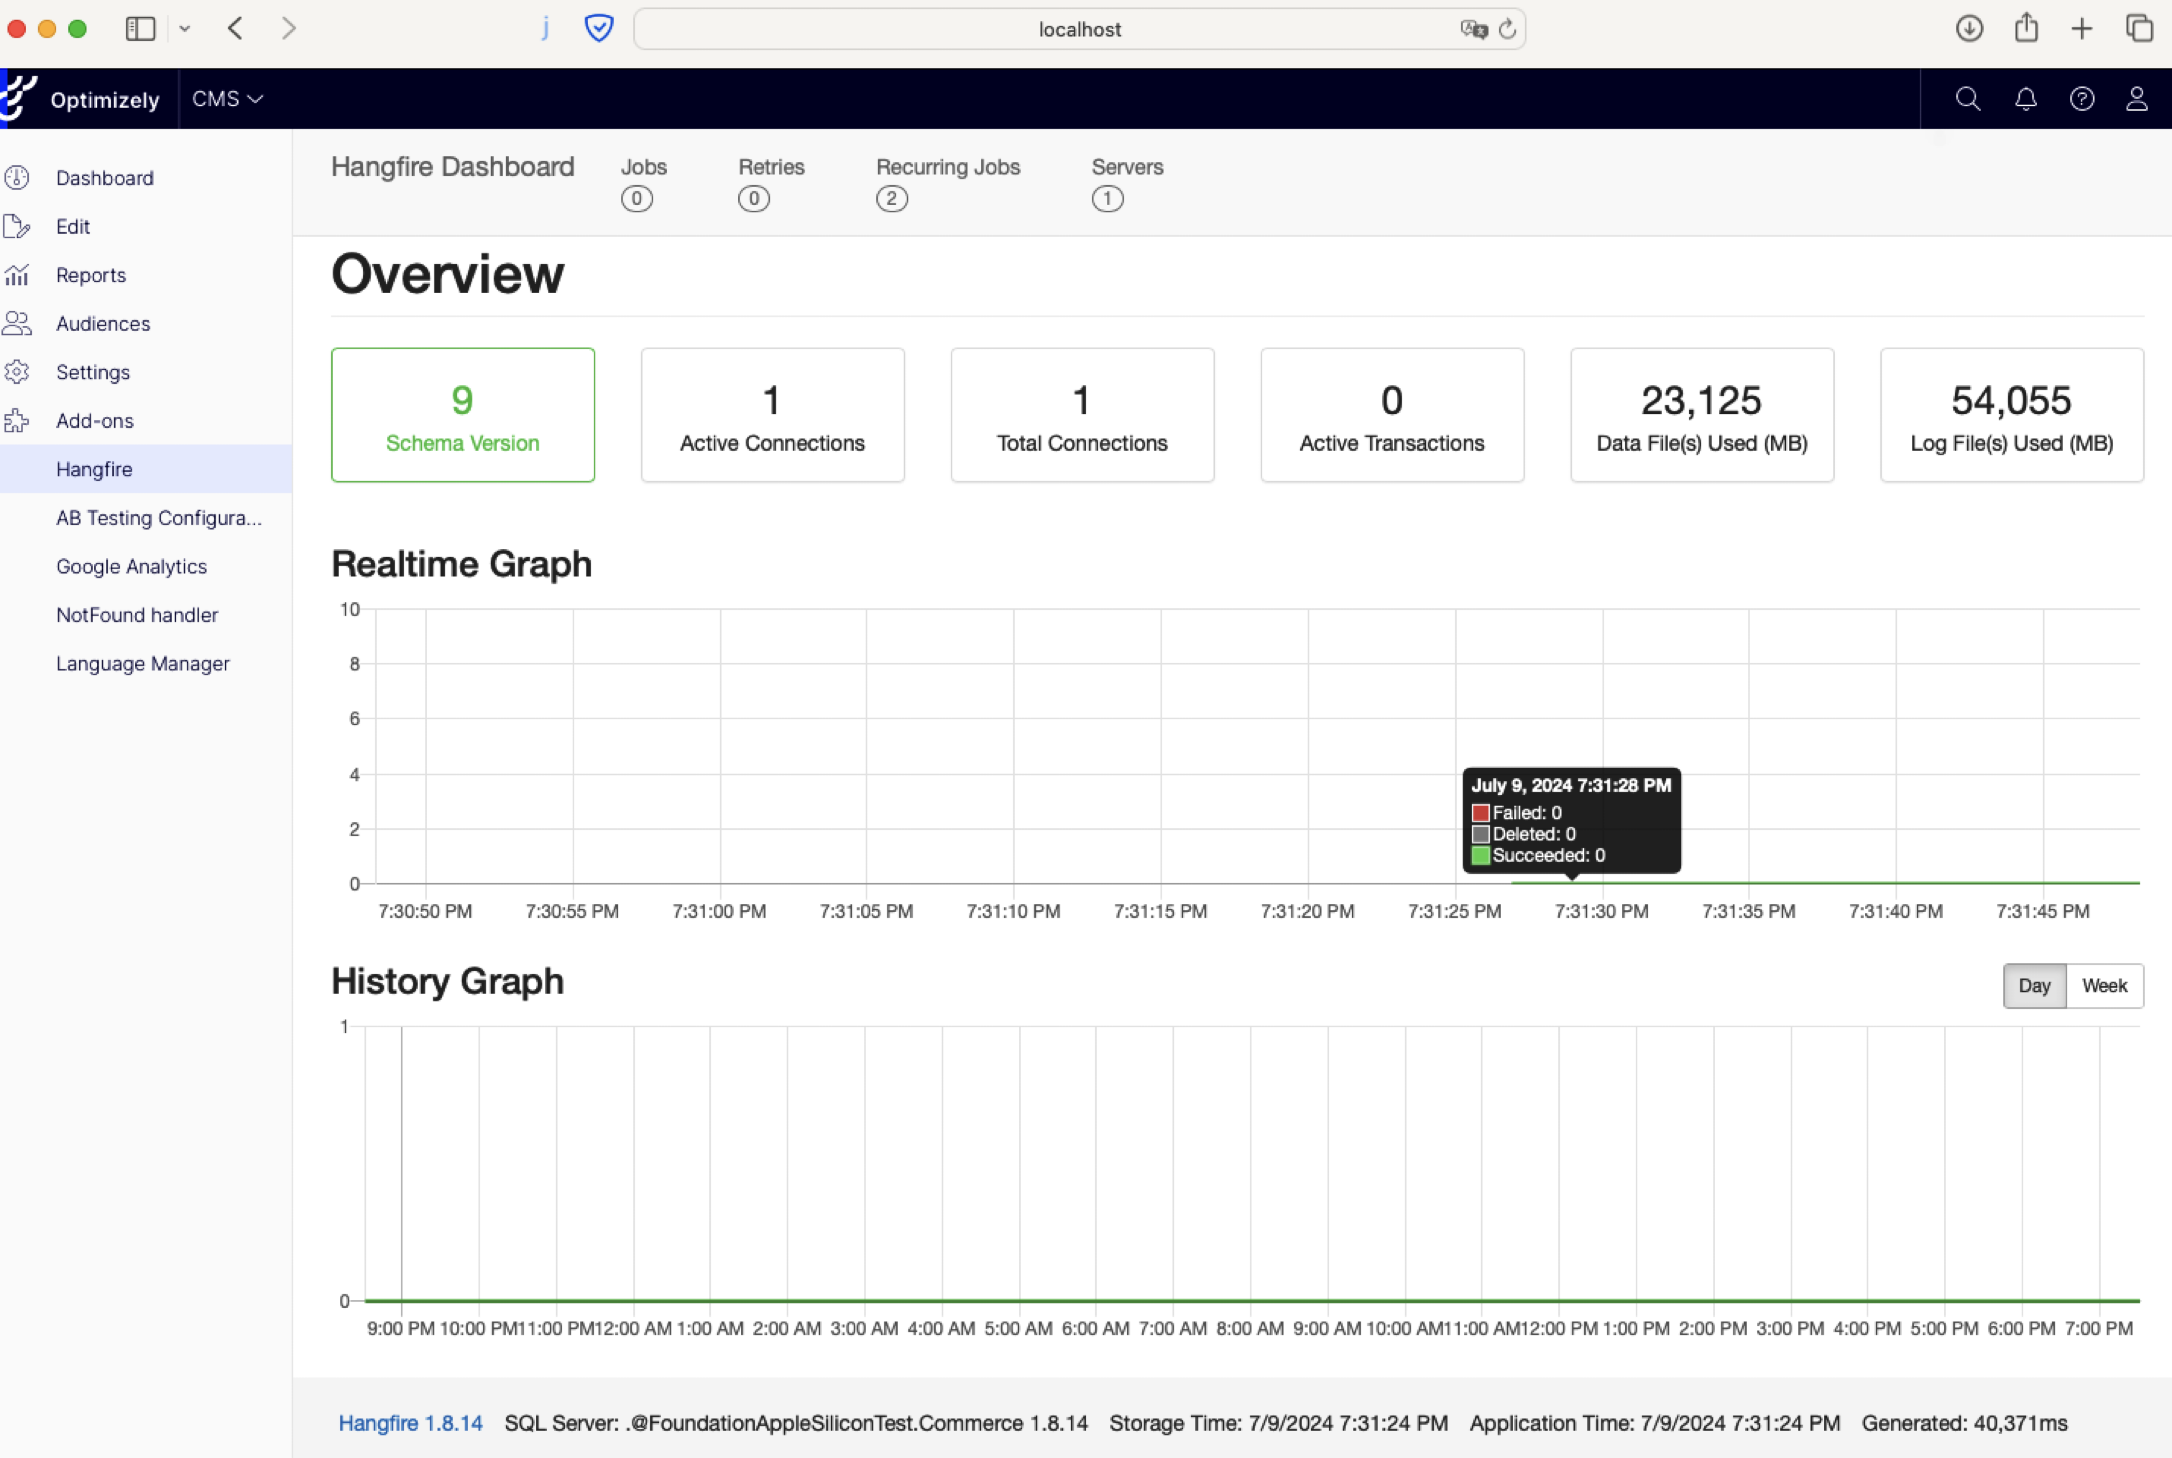
Now that everything is done we can build&run our application. After logging in to the CMS back office we should do something like this:

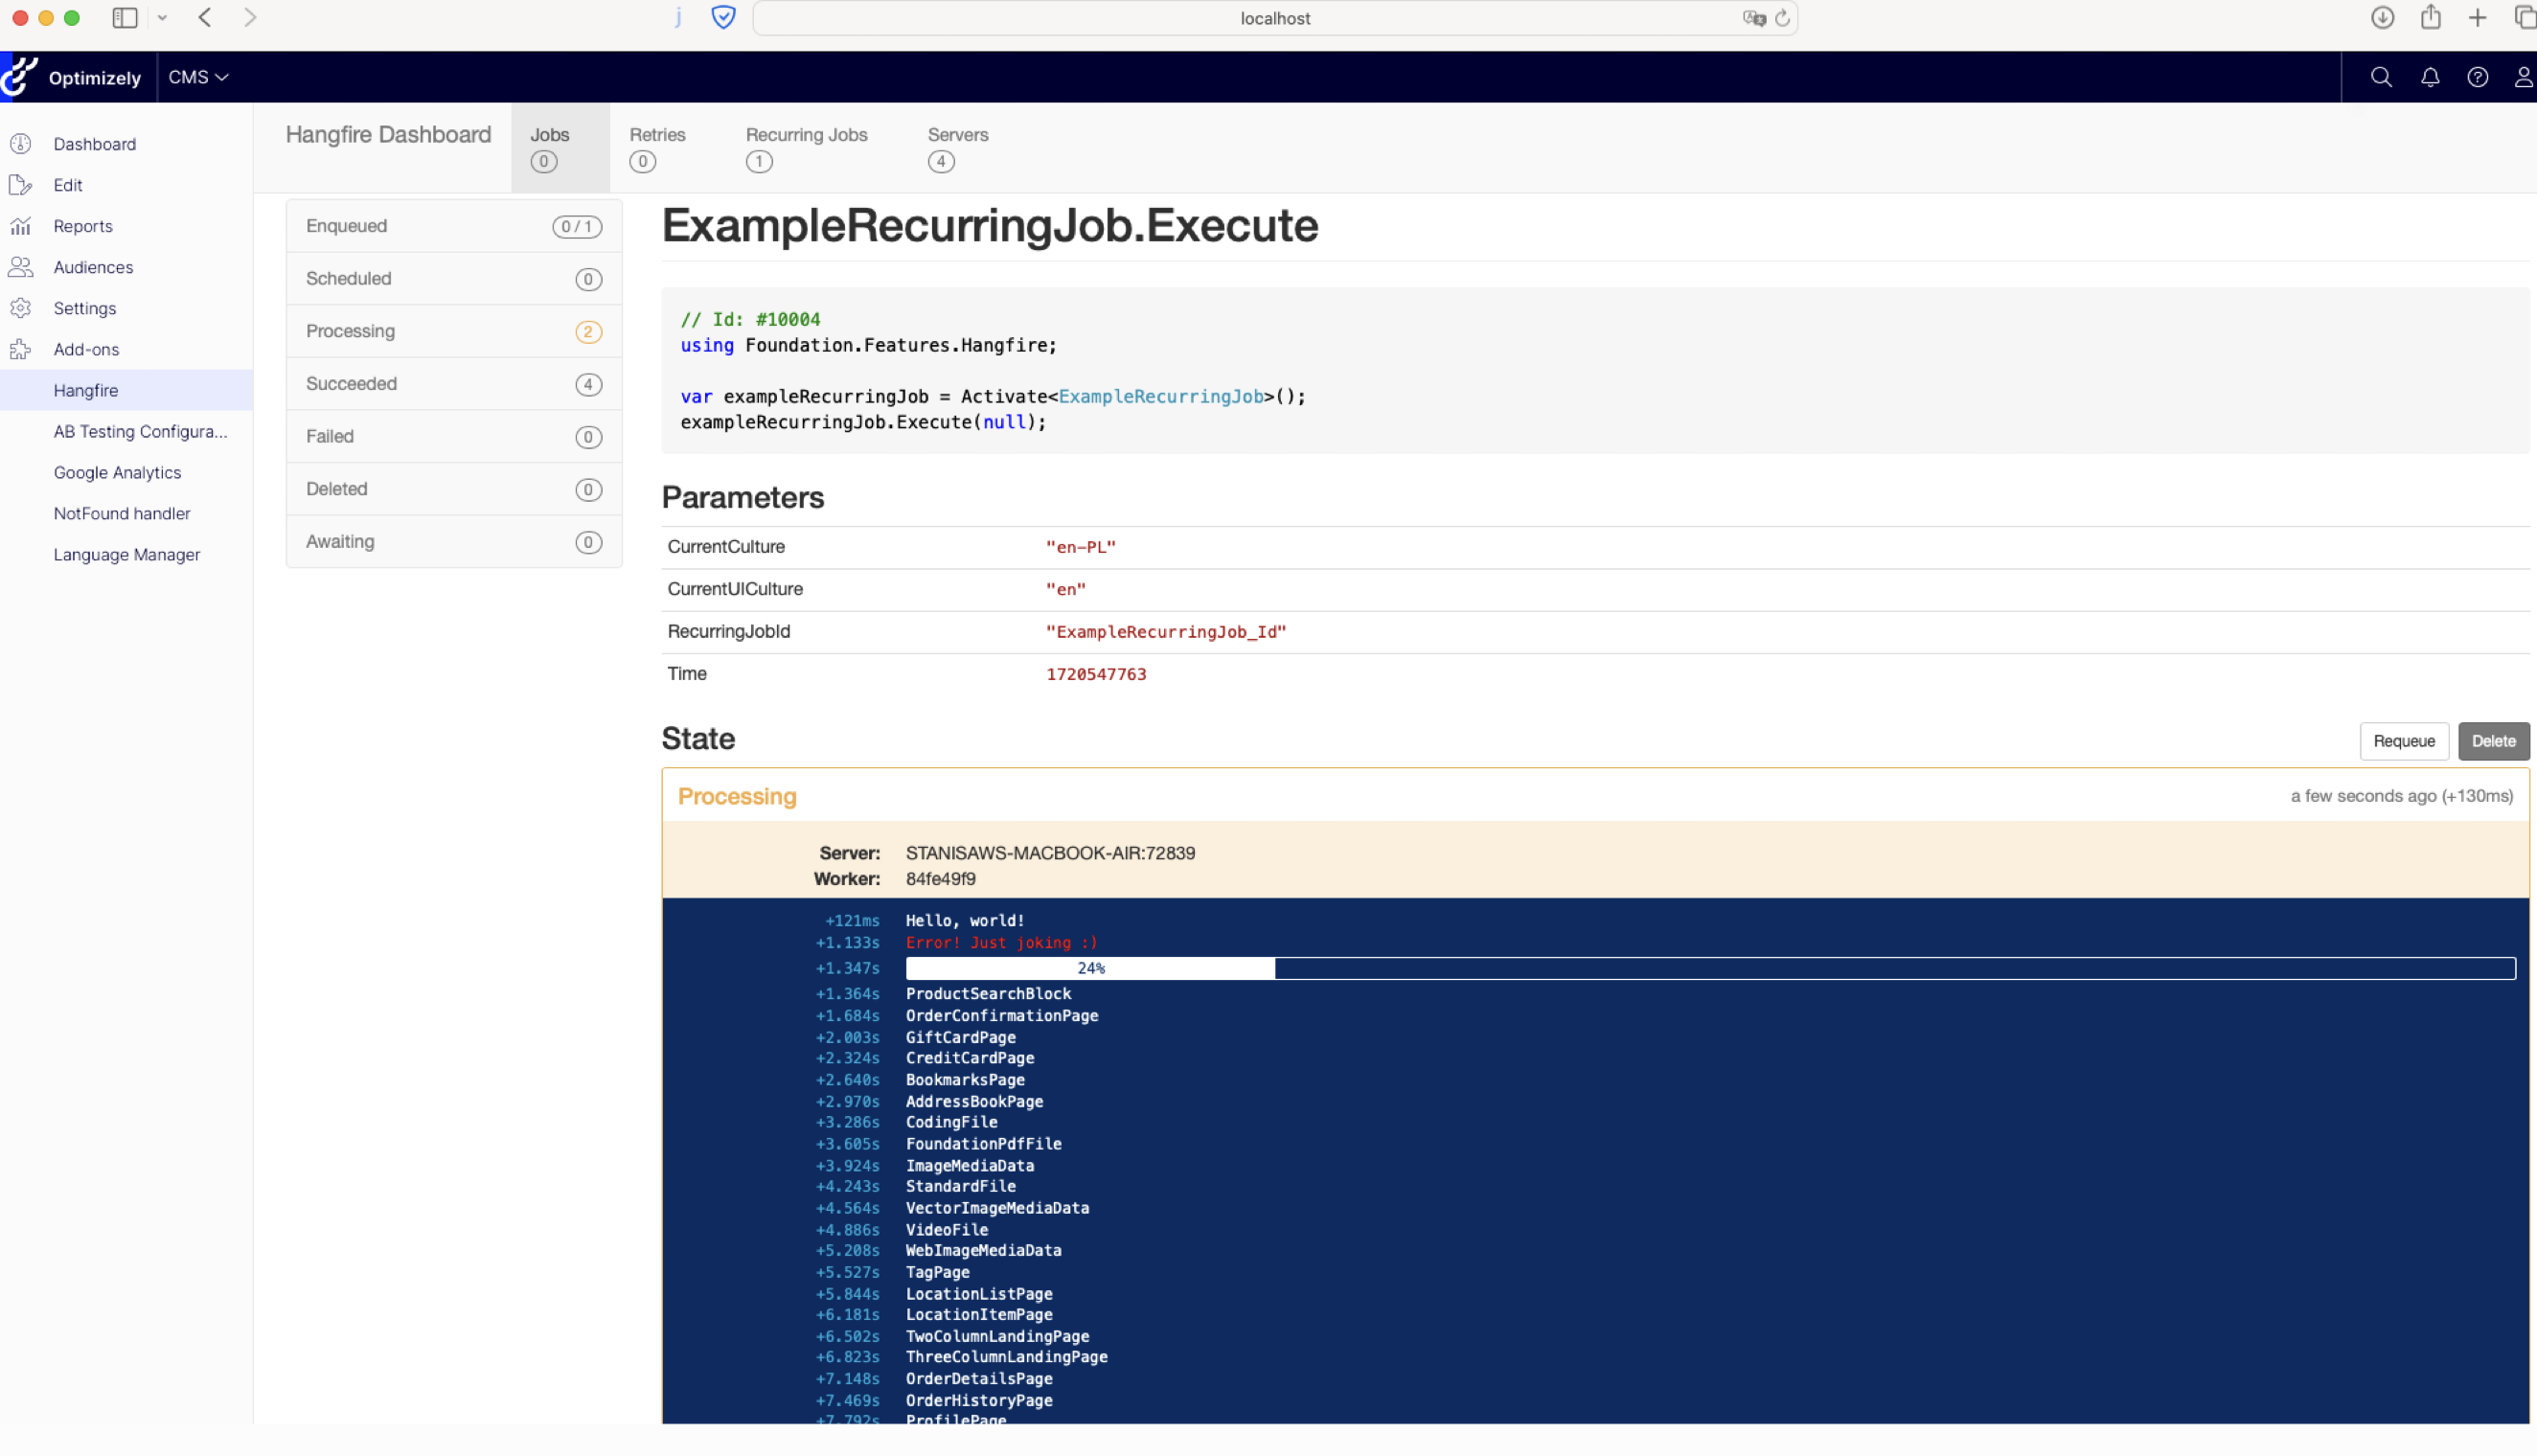
Moving to an example job that was created - after triggering it to execute manually in recurring jobs tabs in execution details we can see a similar view showing the live console experience.

All code changes from this post can be seen in Github foundation fork pull request.